Getting started
The LEDs
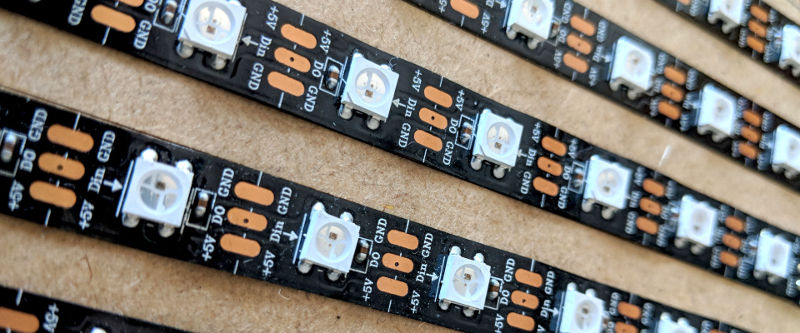
Ok, this is a library to manipulate leds. So, we definitly need leds. The arduino sketch makes use of the fastled library. I only used WS2812B led stripes, but any led type supported by the library should work. If you’re using any other led, you may need to tweak the sketch to initialize fastled correctly. For more details on fastled it is worth checking out the website Fastled.io. There you will also find some useful information about timings and power consumtion.

The micro controller
If you clone the github project, you will find two arduino/nodemcu
sketches. The correct sketch depends on the way you want to communicate
with the controller. A sketch counterparts a certain sender
class. Currently two sketches are available. One for
the UDPSender class and one for the
SerialSender class.
Here I will focus on the serial communication. The sketch you need
is the Framebuffer3.ino sketch.
#include <Arduino.h>
#include <FastLED.h>

#define DATA_PIN              5     // The Pin your LED data line is connected to
#define BAUDRATE         500000     // The communication speed
#define MAX_SERIAL_DELAY   3000     // Maximum delay between transmitted
                                    // data within one command in milliseconds
const uint8_t numberOfLeds  = 100;  // The number of leds

// ### DO NOT CHANGE ANYTHING BELOW THIS LINE UNLESS YOU KNOW WAHT YOU ARE DOING ###

#define BYTES_PER_PIXEL      3   // Don't chang this
#define CMD_PAINT_PANEL    243   // Don't chang this

#define NODEBUG

const int16_t numberOfByte = numberOfLeds * BYTES_PER_PIXEL;
Before uploading the script, some adjustments have to be done to match your setup.
- DATA_PIN
- The pin on the micro controller, where the data line of your leds is connected to. The default is pin 5.
- BAUDRATE
- The baudrate for the serial communication. The baudrate in the sketch and the baudrate in the constructor of the SerialSender have to be identical. Please read the documentation of the pyserial module, as not all speeds are supported on every plattform. Some people reported, that you have to change boot settings on the raspberry before using higher speeds than 155,200 b/s. On my raspberry 3 the default speed of 0,5 Mb/s worked perfectly. Keep in mind, that also the quality and the length of the usb cable will have an impact.
- numberOfLeds
The variable
numberOfLedsholds (surprise, surprise) the number of LEDs on your panel.Warning
Make shure you don’t use more leds in your python
Displayinstance. Also make shure that your physical board doesn’t have less leds.
Installing the python library
The library is hosted on PyPi. You can easily install it using pip. The library only suppports python3. The following shell session shows the process to install the library. The procedure shown below works on ubuntu and raspberry. I’ve never tested this on windows. But installing on windows should be pretty straight forward.
$ mkdir tmp
$ cd tmp
$ python3 -m venv .
$ . bin/activate
(tmp) $ pip install ledwall
The library has the following dependencies:
The Display class offers some
functions that depend on the
python image library PIL.
PIL is not supported on python3. Therefore PIL is not listed
in the dependencies and will not be installed automatically.
You can instead install
the pillow library if you
want to use these functions. Maybe this will change in the
future.

Writing your first script
You can fire up the python3 REPL console or use your favorite editor or ide.
Tip
The library supports only python 3. Scripts will not run with python 2.
The Hello World of LEDWall
import ledwall.components as comp

s = comp.SerialSender()            # Creating a serial sender with the
                                   # default port_name and baudrate
d = comp.Display(16,32,s)          # Defining a new display component

red   = comp.Color(255,0,0)        # Defining an RGB color
col   = comp.HSVColor(0.7,0.8,1.0) # Defining an HSVColor

d.fill((0,255,0))                  # Fill the panel with green. You can specify
                                   # rgb colors as tuple as you go
d.set_pixel(0,3,red)               # which is equivalent to:
                                   # d[(0,3)] = red or d[(0,3)] = (255,0,0)
d.set_pixel(14,23,col)             # Setting the pixel to the defined
                                   # hsv color. Comversion to rgb is calculated
                                   # on the fly

col.hue += 0.13                    # Changing the HUE component of the color
d.set_pixel(15,23,col)             # Setting the pixel in this color

d.update()                         # Updating the physical component